Make Delicious Homemade Soup Bone Broth Today
Bone broth is a nutritious and tasty base for many dishes. It’s simple to make at home with basic ingredients and old-fashioned methods. Making your own bone broth saves money and lets you adjust flavors and nutrients to your liking.
To make it, you simmer bones with veggies and herbs for a long time. This process pulls out all the good stuff and flavor.
Table of Contents
Key Takeaways
- Homemade soup bone broth is a nutritious and cost-effective option compared to store-bought versions.
- The broth is made by simmering bones with vegetables and herbs for an extended period, extracting maximum nutrients and flavor.
- Bone broth can be used as a base for various dishes, adding depth and nutrition to your meals.
- Customizing the ingredients allows you to tailor the broth to your preferences and dietary needs.
- With the right techniques, you can create a delicious and nourishing homemade soup bone broth at home.
Understanding the Magic of Bone Broth: A Nutritional Powerhouse
Bone broth is a nutritional powerhouse. It’s packed with vitamins, minerals, and compounds that boost your health. It’s made by simmering animal bones, cartilage, and tendons for hours or days. This turns them into a rich, flavorful broth that’s great for your body.
Essential Nutrients and Benefits
Bone broth is full of minerals like calcium, magnesium, phosphorus, and potassium. These are key for strong bones, energy, and muscles. It also has collagen and gelatin, which help your joints, gut, and skin.
The amino acids in bone broth, like glycine and glutamine, help detoxify your liver, improve sleep, and boost brain function.
Why Homemade is Better Than Store-Bought
Homemade bone broth is better than store-bought. It’s made by simmering bones for a long time, which pulls out more nutrients. This makes the broth richer in collagen, gelatin, and other good stuff.
Plus, you can control what goes into your homemade bone broth. This means it’s free from additives and preservatives found in store-bought versions.
| Nutrient | Bone Broth | Store-Bought Broth |
|---|---|---|
| Collagen | High | Low |
| Gelatin | High | Low |
| Amino Acids | High | Moderate |
| Minerals | High | Moderate |
Understanding bone broth’s nutritional value opens up a world of health benefits. It’s a versatile ingredient you can easily add to your daily routine.
Selecting the Best Bones for Your Broth
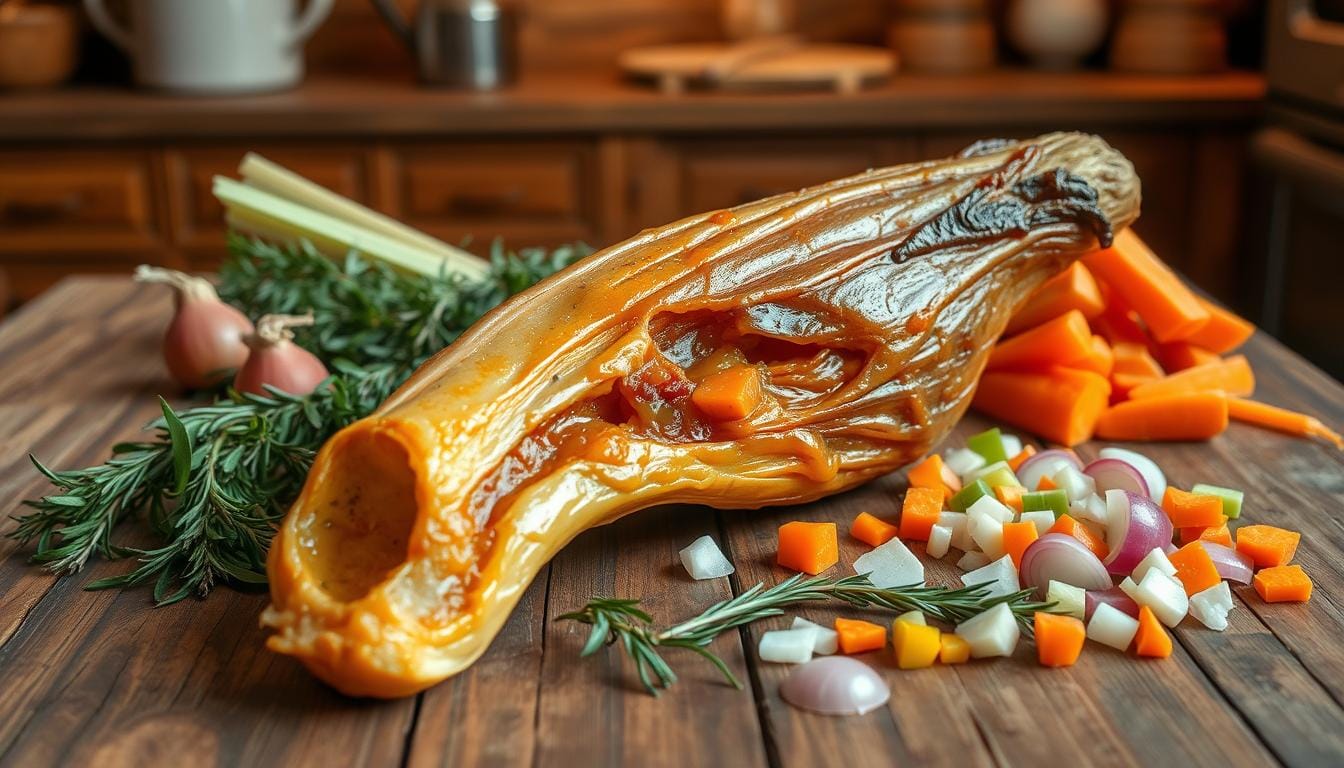
Choosing the right bones is key to making great homemade bone broth. Look for bones rich in collagen and marrow. These are crucial for getting the best flavor and nutrients. For a beef broth, mix beef bones, marrow bones, oxtail bones, and knuckle bones.
Different Types of Bones and Their Benefits
Each bone type brings its own nutritional benefits and cooking perks:
- Beef Bones: Full of minerals like calcium, magnesium, phosphorus, and potassium. These are good for bones and overall health.
- Marrow Bones: High in collagen and gelatin. These help with joint health, skin, and digestion.
- Oxtail Bones: Rich in amino acids like glycine, proline, and glutamine. These help muscles, the immune system, and gut health.
- Knuckle Bones: Great for hydration because of their high water and electrolyte content. They help replenish the body.
Where to Source Quality Bones
Finding high-quality, ethically-sourced bones is vital for a nutrient-rich broth. Visit your local butcher, farmers market, or organic stores for the best beef bones, marrow bones, oxtail bones, and knuckle bones. Choose bones from grass-fed, pasture-raised animals for the most nutrients.
“Bone broth provides vital nutrients, proteins, and amino acids that are often lacking in the modern Western diet.”
Essential Equipment for Making Soup Bone Broth
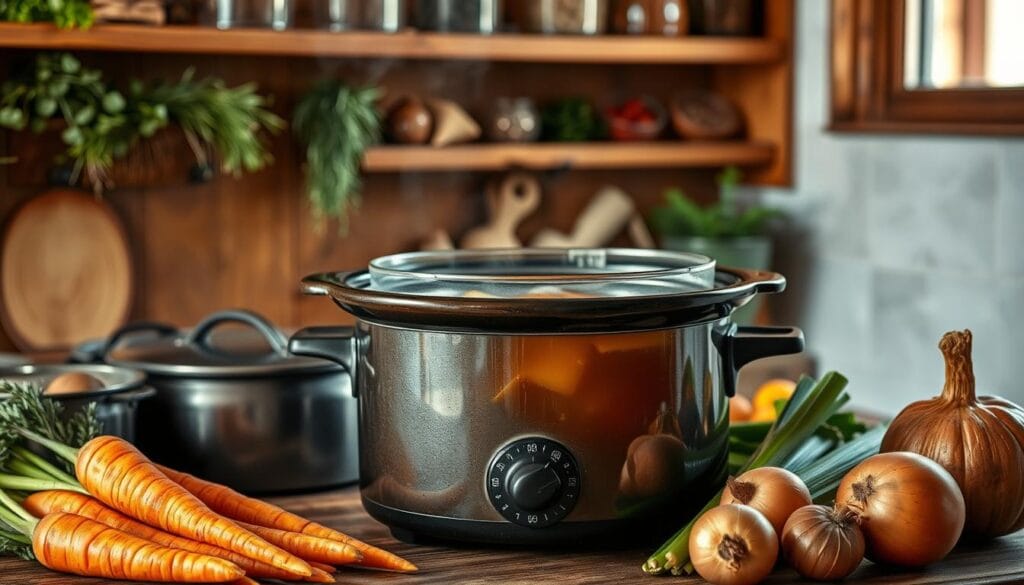
Making delicious homemade soup bone broth needs the right tools. You can use a pressure cooker for quick results or a stock pot or slow cooker for a richer taste. Having the right equipment makes a big difference.
A large, strong stock pot is key for making bone broth. It’s perfect for long simmering, letting the bones release their goodness. If you want it faster, an Instant Pot or other pressure cooker can cook it in 3-4 hours.
After cooking, a fine-mesh strainer is crucial. It helps you separate the broth from the bones and veggies. This way, you get a clear broth without any sediment.
- Large stock pot
- Pressure cooker (like an Instant Pot)
- Slow cooker
- Fine-mesh strainer
- Mason jars or freezer-safe containers for storage
Finally, having the right storage containers is important. Use Mason jars or freezer-safe containers to keep your broth fresh. With these tools, you can make tasty, healthy soup bone broth at home.
Key Ingredients That Enhance Flavor and Nutrition
Making a tasty and healthy soup bone broth is more than bones and water. The right mix of ingredients can make your broth both delicious and nutritious. Let’s look at the main ingredients that turn your broth into a culinary gem.
The Role of Apple Cider Vinegar
Adding apple cider vinegar to your broth is a big plus. This tangy ingredient helps pull out nutrients from the bones. Your broth will be full of important minerals and collagen. The vinegar also breaks down tough tissues, making the broth thicker and more gelatinous.
Aromatics and Seasonings
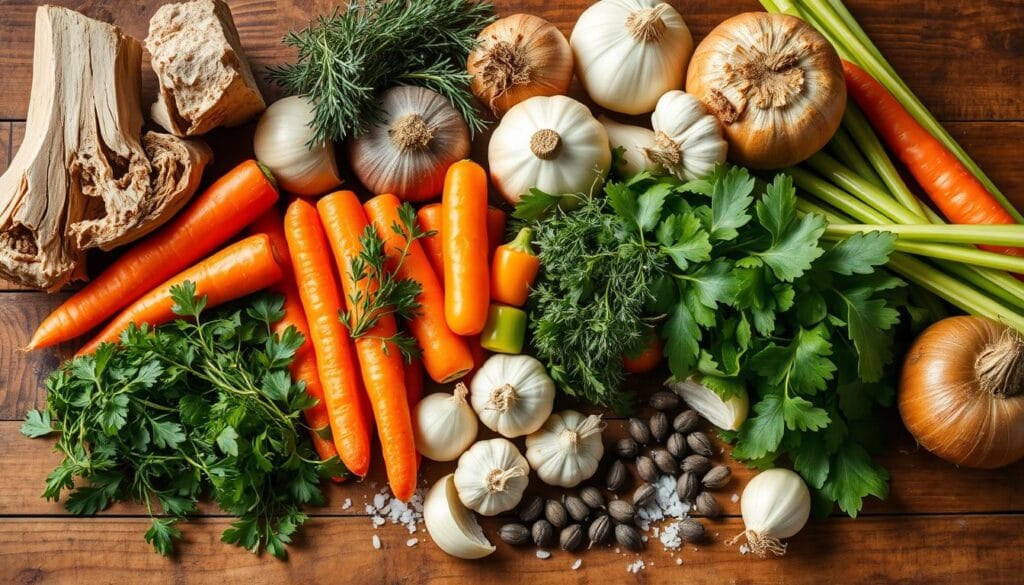
To make your bone broth taste great, use the right aromatics and seasonings. Start with onions, carrots, and celery for depth and complexity. Add garlic, bay leaves, and peppercorns later to add more flavor. Try herbs like parsley, thyme, or ginger to make it your own.
Remember, patience is key for a flavorful broth. Simmer it for 12-24 hours to let the flavors mix well. Roasting the bones and veggies before simmering adds a nice caramelized taste. Skim off foam in the first hour for a clear broth.

With these ingredients and techniques, you’ll make your soup bone broth shine. It becomes a nourishing and flavorful base for your dishes.
Step-by-Step Pressure Cooker Method
Making tasty, Instant Pot bone broth is now super easy. This pressure cooking method makes a quick bone broth in much less time than old methods. Just follow these easy steps to start:
- Gather your ingredients: roasted bones, vegetables, apple cider vinegar, and water.
- Add the roasted bones, vegetables, and a splash of apple cider vinegar to your Instant Pot.
- Pour in enough water to cover the ingredients, leaving a few inches of headspace.
- Secure the lid and set the Instant Pot to cook on high pressure for 3-4 hours.
- Once the cooking time is up, allow the pressure to release naturally. This can take 20-30 minutes.
- Carefully strain the broth through a fine-mesh sieve, separating the liquid from the solids.
- Let the broth cool completely before transferring it to storage containers or ice cube trays for easy portioning.
This pressure cooking method is a game-changer for those seeking a quick bone broth. It has all the nourishing benefits of the traditional slow-simmered version. Enjoy the rich, flavorful Instant Pot bone broth in soups, stews, or just on its own.
Traditional Slow Cooker Technique
Making delicious bone broth in a slow cooker is a classic way. This method gently pulls nutrients from bones, making a flavorful and healthy broth.
Tips for Achieving Perfect Results
To get the best slow cooker bone broth, follow these tips:
- Use a 6-quart or larger slow cooker for enough bones and ingredients.
- Put in 3-4 lbs of high-quality beef bones for the best nutrient extraction.
- Add aromatic veggies like carrots, celery, and onions, along with herbs and spices, to boost flavor.
- Include a bit of apple cider vinegar to release minerals from the bones.
- Set the slow cooker to “Low” and simmer for 12-24 hours, or up to 48 hours for the richest broth.
- Skim off foam or impurities that form during cooking.
- Make sure bones stay covered in liquid by adding more water as needed.
Cooking Time Guidelines
The longer you simmer your bone broth, the better it gets. Aim for at least 12 hours, but up to 24-48 hours for the most flavor and nutrients. This long cooking time lets bones release valuable nutrients like collagen, gelatin, and minerals into the broth.
After cooking, strain the broth through a fine mesh strainer to remove solids. Let it cool before storing. Your homemade bone broth can be kept in the fridge for up to 4 days or frozen for 6 months. This way, you can enjoy its health benefits whenever you want.

By using the traditional slow cooker method, you make a broth that’s not just tasty but also full of nutrients. This old-world technique is a great way to support your health and enjoy homemade bone broth.
How to Roast Bones for Enhanced Flavor
Roasting bones before making broth is a simple yet impactful step. It can elevate the flavor and color of your homemade soup. The process of roasting roasted bones helps to caramelize the natural sugars. This results in a deeper, richer taste that permeates the final broth.
This technique is particularly beneficial for meaty bones, such as beef and pork. The flavor enhancement it provides is unmatched.
To roast your bones, simply spread them in a single layer on a baking sheet. Then, pop them in the oven at 400°F (200°C) for about 30 minutes, until they are nicely browned. Be sure to keep an eye on them to prevent burning.
Once roasted, you can add the bones, along with any browned bits and juices from the pan, directly to your broth-making process. This adds depth of flavor.
- Preheat your oven to 400°F (200°C).
- Spread the bones in a single layer on a baking sheet.
- Roast the bones for 30 minutes, or until they are nicely browned.
- Add the roasted bones, along with any browned bits and juices, to your broth-making process.
| Bone Type | Roasting Time | Temperature | Benefits |
|---|---|---|---|
| Beef Bones | 20 minutes, then 20 more minutes | 200°C (400°F) | Enhances flavor and adds depth to homemade stock |
| Marrow Bones | 25-30 minutes | 180°C (350°F) | Extracts the unctuous goodness of the marrow |
Remember, roasting is an optional but highly recommended step. It can truly elevate the flavor of your homemade broth. Experiment with different bone types and roasting times to find the perfect balance that suits your taste preferences.
“The key to a rich, flavorful broth is in the roasting of the bones. The caramelization process unlocks a depth of flavor that simply can’t be achieved any other way.”
– Lulu Cox, Certified Nutritionist and Broth Enthusiast
The Art of Straining and Storing Your Broth
Once your homemade bone broth is ready, it’s time to strain and store it. Start by pouring the broth through a fine-mesh sieve. This removes solid particles or bones.
This step makes your broth smooth and clear. It’s now ready to add to soups, stews, or sauces.
Proper Storage Methods
To keep your bone broth fresh and nutritious, proper storage is key. Cool the broth to room temperature first. Then, put it in airtight containers like mason jars or freezer-safe ones.
Make sure to leave some space at the top for expansion if you freeze it. Freezing in ice cube trays or muffin tins makes portioning easy.
Shelf Life Guidelines
Properly stored bone broth lasts a long time. In the fridge, it stays good for up to 4 days. If you freeze it, you can keep it for up to 6 months.
Before reheating or using refrigerated broth, skim off any solidified fat. Following these guidelines lets you enjoy your homemade bone broth for months.
FAQ
What are the benefits of bone broth?
Why is homemade bone broth better than store-bought?
What are the best bones to use for making bone broth?
What equipment do I need to make bone broth?
What ingredients are needed to make bone broth?
How do I make bone broth in a pressure cooker?
How do I make bone broth in a slow cooker?
Should I roast the bones before making broth?
How do I properly store my bone broth?
Tried This Delicious Recipe Yet ?
There are no reviews yet. Be the first one to write one.

