Easy Homemade Water Bread Recipe for Beginners
Making homemade water bread is a rewarding experience, especially for beginners. This recipe uses simple ingredients to create a rustic loaf. It has a crispy crust and a soft, airy inside that will please your taste buds.
Whether you’re new to baking or have experience, this guide will help you make great water bread at home.
Table of Contents
Key Takeaways
- This water bread recipe yields 2 large loaves with a total preparation and cooking time of 10 hours and 50 minutes.
- The recipe uses basic ingredients like water, flour, yeast, and salt, making it suitable for beginner bakers.
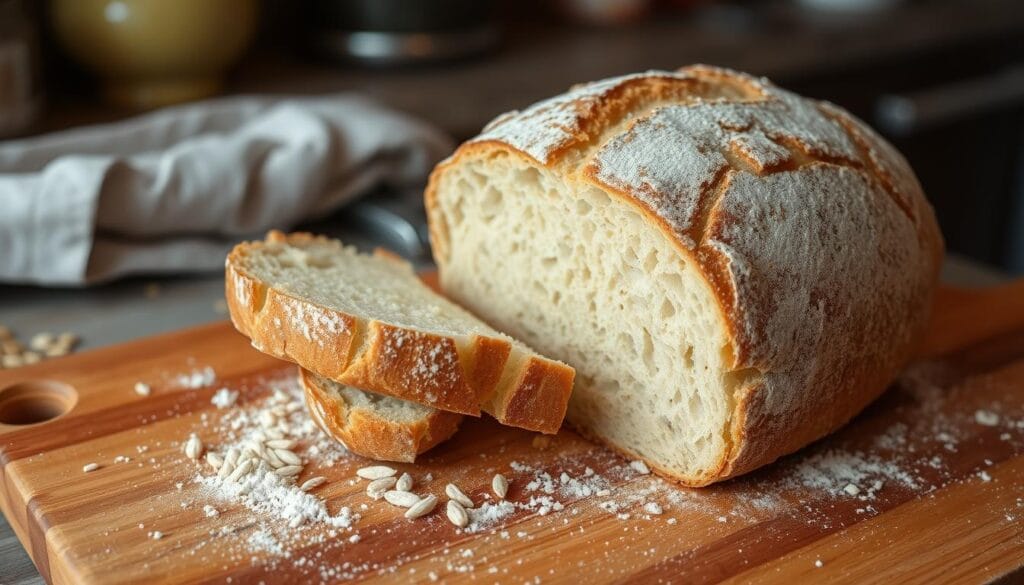
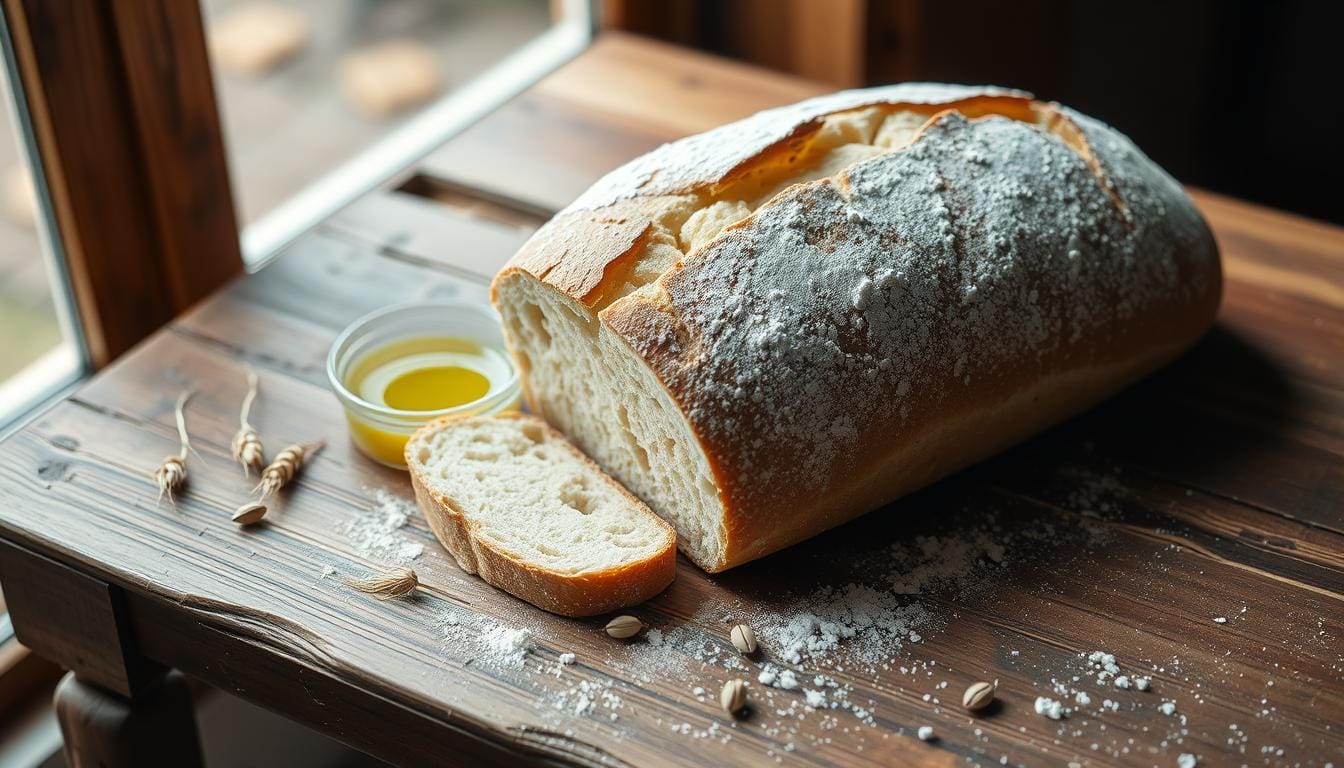
- The resulting bread has a classic, rustic appearance with a crisp crust and a soft, fluffy interior.
- Careful attention to yeast proofing and rising times is essential for achieving the perfect texture.
- This homemade water bread can be enjoyed fresh or frozen for up to 2 months.
Introduction to Homemade Bread Making
Making your own homemade bread at home is incredibly rewarding. It’s easier than you might think. With just a few simple ingredients and basic equipment, you can make delicious, artisan bread in your kitchen. Whether you’re new to baking or have experience, making rustic bread from scratch is fulfilling and worth it.
Why Making Bread at Home is Worth It
Homemade bread has many benefits over store-bought. You control the ingredients, avoiding preservatives and additives. It’s also cheaper to make your own bread. Plus, baking bread is a great way to teach kids valuable cooking skills.
Breaking Down the Intimidation Factor
Many people think baking bread is too hard. But with the right help and practice, it’s surprisingly easy. Learning about yeast and water, and mastering kneading and proofing, will boost your confidence. Soon, you’ll be baking bread at home with ease.
Benefits of Baking Your Own Bread
- Control over ingredients: Avoid preservatives, added sugars, and unwanted additives.
- Cost savings: Homemade bread is typically much more affordable than store-bought loaves.
- Hands-on learning: Baking bread can be a valuable cooking skill to teach children.
- Sense of accomplishment: The satisfaction of creating something delicious from scratch.
- Freshness and flavor: Homemade bread is unmatched in terms of taste and texture.
So, don’t let baking bread at home scare you. With the right guidance and practice, you’ll soon enjoy the rewards of freshly baked, homemade bread.
“Baking bread is one of those almost mystical processes that feels like alchemy – you start with a few simple ingredients, and it transforms into something completely different.” – Alton Brown
Essential Ingredients for Water Bread Recipe
To make perfect water bread at home, you need to know the key ingredients. You’ll need all-purpose or bread flour, active dry yeast, kosher salt, and warm water. Some recipes might add sugar, butter, or milk powder to improve taste and texture.
Choosing between all-purpose and bread flour is up to you. Bread flour makes the bread chewier and more structured. All-purpose flour gives a softer, more tender crumb. Pick what you like best.
Active dry yeast is vital for a good rise in your water bread. Fresh yeast helps your dough rise well. Without it, your bread might not turn out right.
| Ingredient | Quantity |
|---|---|
| All-purpose or bread flour | 2 cups (260g) |
| Active dry yeast | 1 ½ teaspoons |
| Kosher salt | 1 teaspoon |
| Warm water | 3/4 cup (175ml) |
With these ingredients, you’re ready to make tasty homemade water bread. The secret to success is using the right flour, yeast, and water. Also, handle the dough carefully during mixing and kneading.
Required Kitchen Tools and Equipment
Baking homemade bread is easy with basic tools. You don’t need fancy equipment to make a fresh loaf at home. Here’s what you need for your water bread recipe and some extra tools to make it better.
Basic Tools You’ll Need
- Large mixing bowl
- Measuring cups and spoons
- Clean kitchen towel
- Wooden spoon or dough whisk
Optional Equipment for Better Results
A stand mixer with a dough hook can make kneading easier. It saves time and effort, especially if you bake often.
Choosing the Right Dutch Oven
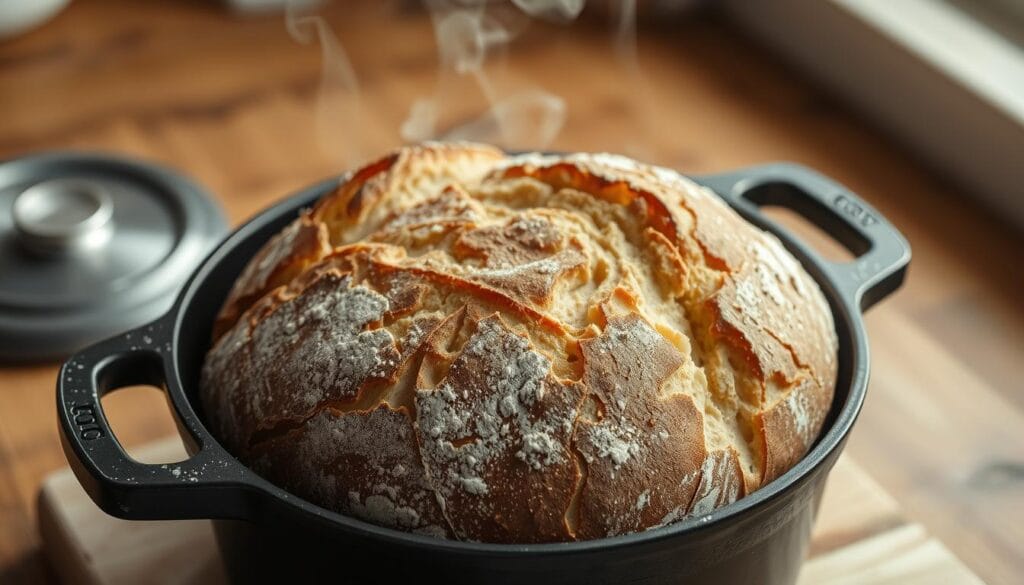
A good Dutch oven or cast iron pot is key for a perfect crust. Choose a 4-5 quart size to fit your dough and provide steam. Parchment paper helps when moving the dough into the hot pot.
With these tools, you’re ready to bake delicious bread machine and Dutch oven bread at home. Next, we’ll look at yeast and water temperature.
Understanding Yeast and Water Temperature
For homemade yeast bread, the water temperature is key. It should be between 105 and 115 degrees Fahrenheit. This warm water activates the yeast, making it multiply and produce carbon dioxide.
Most recipes use about 2 1/4 teaspoons of yeast. But, some packets have up to 3 1/8 teaspoons. So, always check the package. Recipes like Overnight Artisan Bread might use more yeast for a better rise and flavor.
| Yeast Measurement | Amount |
|---|---|
| Standard Yeast Packet | 2 1/4 teaspoons |
| Larger Yeast Packet | Up to 3 1/8 teaspoons |
Keeping yeast fresh is important. Unopened yeast can stay in a cupboard. But, opened packages should go in the fridge. Bulk yeast can be frozen for longer storage.
When mixing dough, active dry yeast needs warm water first. Instant yeast can go straight in. The right water temperature is crucial for yeast activity and a perfect rise.
Step-by-Step Water Bread Recipe
Making your own no-knead bread or using a bread machine is rewarding. The secret to a tasty water bread is in the steps. Let’s explore the key steps together.
Mixing the Ingredients
First, get your ingredients ready: flour, water, olive oil, and salt. In a big bowl, mix the flour and salt together until they’re well combined. Then, add the warm water and olive oil slowly, stirring until it’s a shaggy dough. Don’t overmix at this point, as the dough will come together more during kneading.
Kneading Techniques
For no-knead bread, just mix the ingredients until they’re combined. This method lets the dough develop gluten slowly. But, if you like kneading, do it for 5-10 minutes on a floured surface. Gently stretch and fold the dough to make it smooth and elastic.
Proper Rising Methods
After preparing the dough, put it in a greased bowl. Cover it with a damp towel or plastic wrap. Let it rise in a warm, draft-free spot for 10-12 hours. This slow rise is crucial for flavor and texture. Some recipes might need a second rise after shaping, so check your recipe.

The success of water bread comes from careful steps and patience. By following these steps, you’ll make a delicious homemade loaf. It will surely impress your loved ones.
Proofing and Rising Times Explained
Learning about proofing and rising times is key for making tasty yeast bread and homemade bread at home. The dough usually doubles in size in about 1 to 1 1/2 hours in a warm spot. After shaping, it needs another 30 minutes to 1 hour before baking.
The best temperature for dough to rise is between 75°F to 78°F. A warm spot helps the dough rise faster, but not too hot. If it’s cooler, like the author’s kitchen at 63°F, it rises slower.
To create a great proofing spot, use a warm, still area. A turned-off oven with hot water works well. You can also use a dishwasher or microwave for proofing, especially when it’s cold.
The rise time depends on the flour, how wet the dough is, and the starter amount. Dough should grow by about a third. Watching how the dough looks and grows is crucial for the right texture in your homemade bread.
“The rate of fermentation doubles for every 15°F (8°C) increase in temperature.”
Understanding proofing and rising times helps home bakers make consistently tasty, fluffy yeast bread and homemade bread. Try different proofing methods and temperatures to find what works best in your kitchen and for your favorite bread recipes.
Baking Temperature and Timing Guidelines
To make perfect crusty bread at home, pay close attention to baking temperature and timing. Follow these key guidelines to get your homemade crusty bread just right.
Preheating Your Dutch Oven
First, preheat your oven to 450-460°F (232-238°C) with the Dutch oven inside. Let the Dutch oven heat up for at least 30 minutes. This high heat is crucial for your bread to bake perfectly.
Achieving the Perfect Crust
- Bake the bread covered in the preheated Dutch oven for 30-35 minutes. The enclosed space helps the bread get a crisp crust.
- Then, remove the lid and bake for another 15 minutes. This will make the crust golden-brown.
- The total baking time is usually 45-50 minutes. But, it can vary based on your oven and recipe.
By sticking to these temperature and timing tips, you’ll make a loaf of crusty bread with a golden-brown crust. It will wow your family and friends.

Troubleshooting Common Bread Issues
Baking homemade bread can be very rewarding. But, even experienced bakers face challenges. Issues like dough not rising, a dense texture, or a burnt bottom can happen. Luckily, there are simple fixes to get your bread right again.
Dough that won’t rise is a common problem. It might be due to old yeast or a cold place. Make sure your yeast is fresh and the dough is in a warm spot, between 85°F to 95°F. If it’s too cold, let it rise longer.
A dense texture can come from overmixing or not rising enough. Follow the kneading and rising times in your recipe. Adjust them if your dough feels different.
- Decrease liquid by 1-2 tablespoons to prevent a collapsed loaf.
- Increase salt by ¼ teaspoon to improve structure.
- Add 1-2 tablespoons more flour if the dough seems too wet.
A burnt bottom crust usually happens when the Dutch oven gets too hot. Make sure to preheat everything well. If it’s getting too dark, try baking at a lower temperature.
Baking homemade yeast bread is an art. It might take some trial and error to get it right. Keep track of your changes and try again. With a bit of troubleshooting, you’ll soon be enjoying perfect homemade bread.
Storage Tips and Shelf Life
After baking your homemade bread, it’s key to store it right. Start by letting it cool down completely, at least 15 minutes. This step prevents a soggy crust by avoiding condensation.
Proper Cooling Methods
For a short time, keep the unsliced loaf in a paper bag or bread box at room temperature. This keeps the crust crisp and the inside soft for 2-3 days. Don’t store homemade bread in the fridge. The cold, dry air makes it stale quicker.
Freezing Instructions
To keep your bread fresh longer, slice it and freeze the slices. Wrap them in plastic wrap or put them in a freezer-safe bag. This way, frozen bread stays good for up to 3 months. Just thaw the slices at room temperature or toast them straight from the freezer.
FAQ
How long does it take to make this water bread recipe?
What basic ingredients are needed for this water bread recipe?
What essential tools are required for making water bread at home?
What is the ideal water temperature for activating yeast?
How do I properly mix and knead the water bread dough?
How long should I let the water bread dough rise?
What are the baking temperature and timing guidelines for water bread?
What are some common issues that can arise when making water bread?
How should I store the baked water bread?
Tried This Delicious Recipe Yet ?
There are no reviews yet. Be the first one to write one.

